


Metonboss
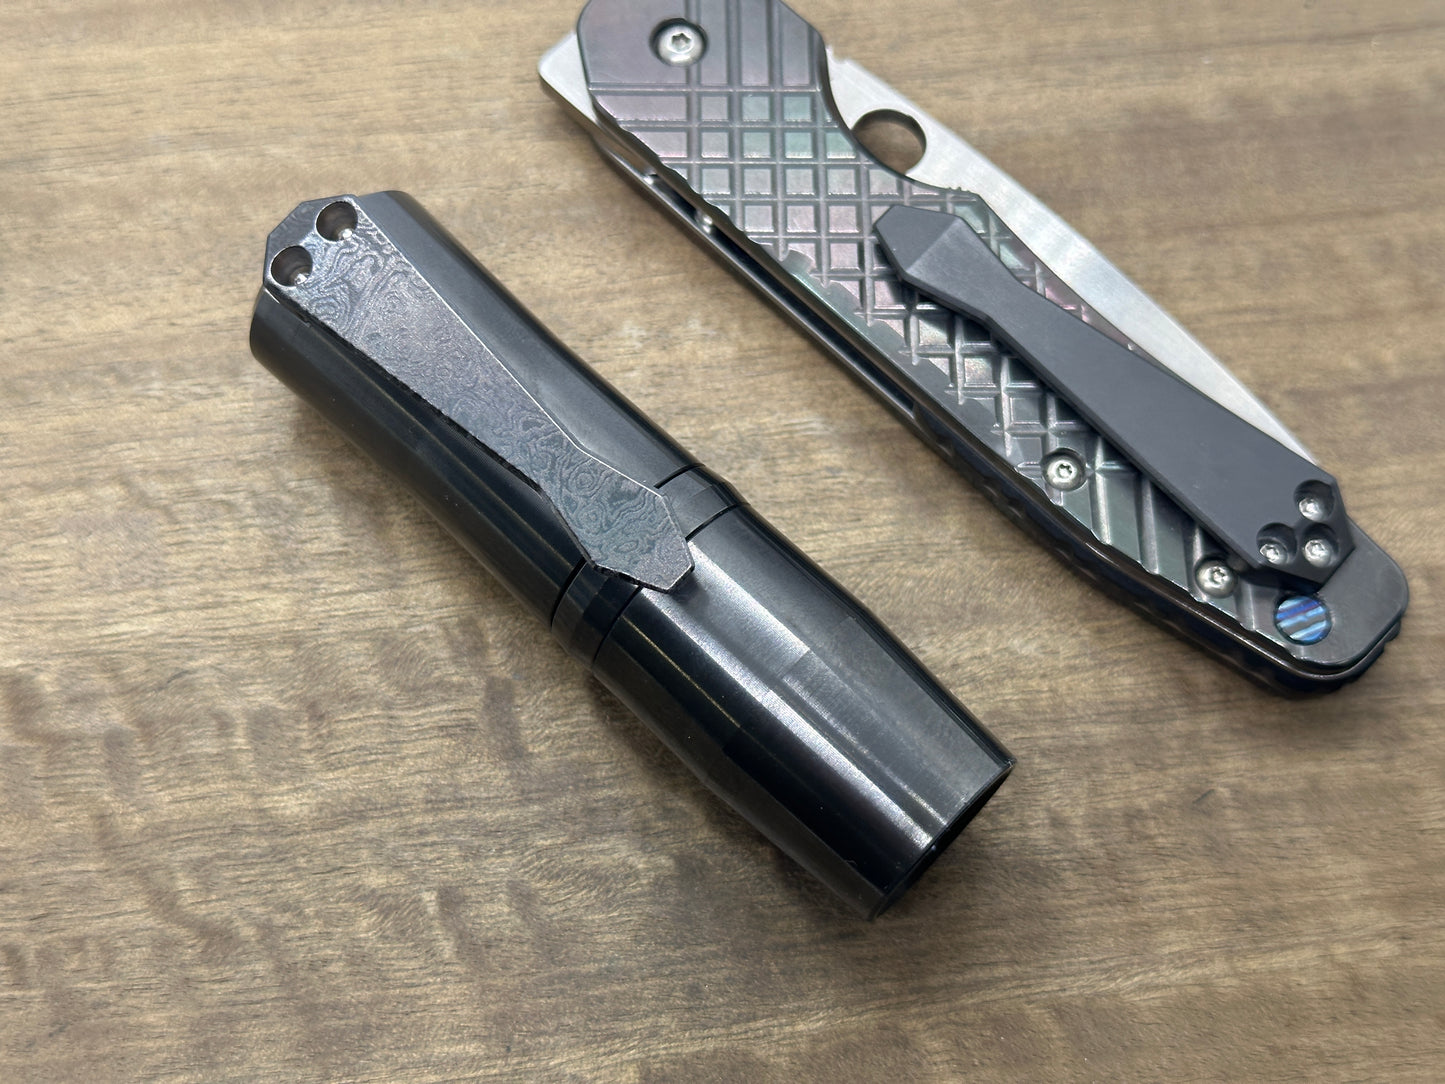
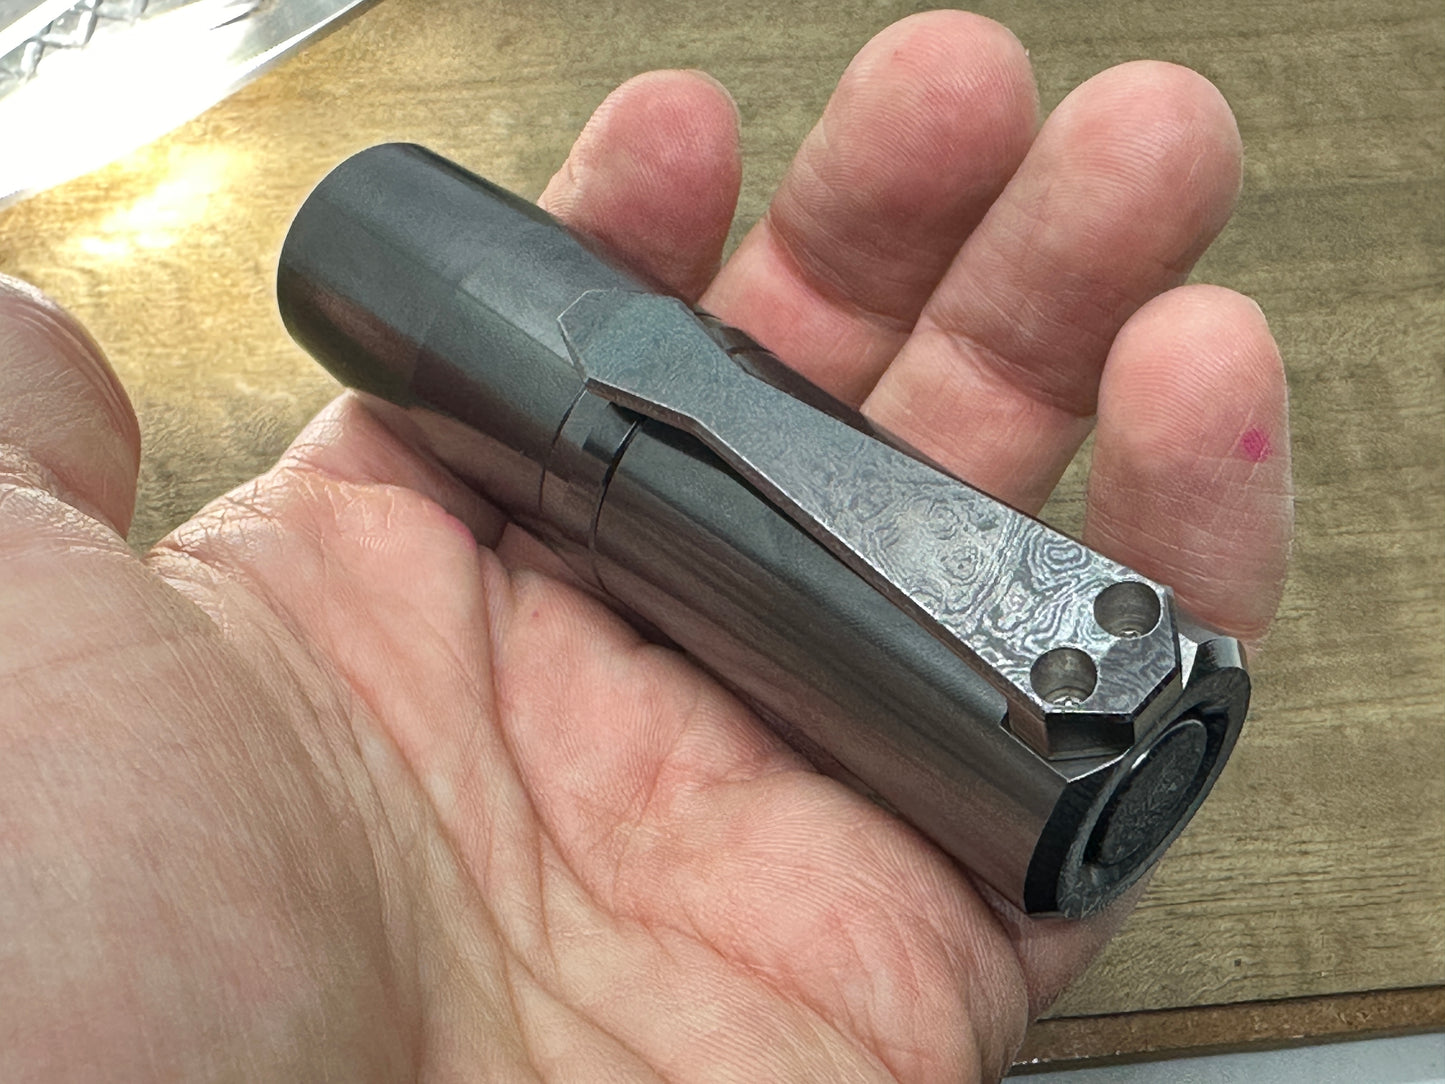
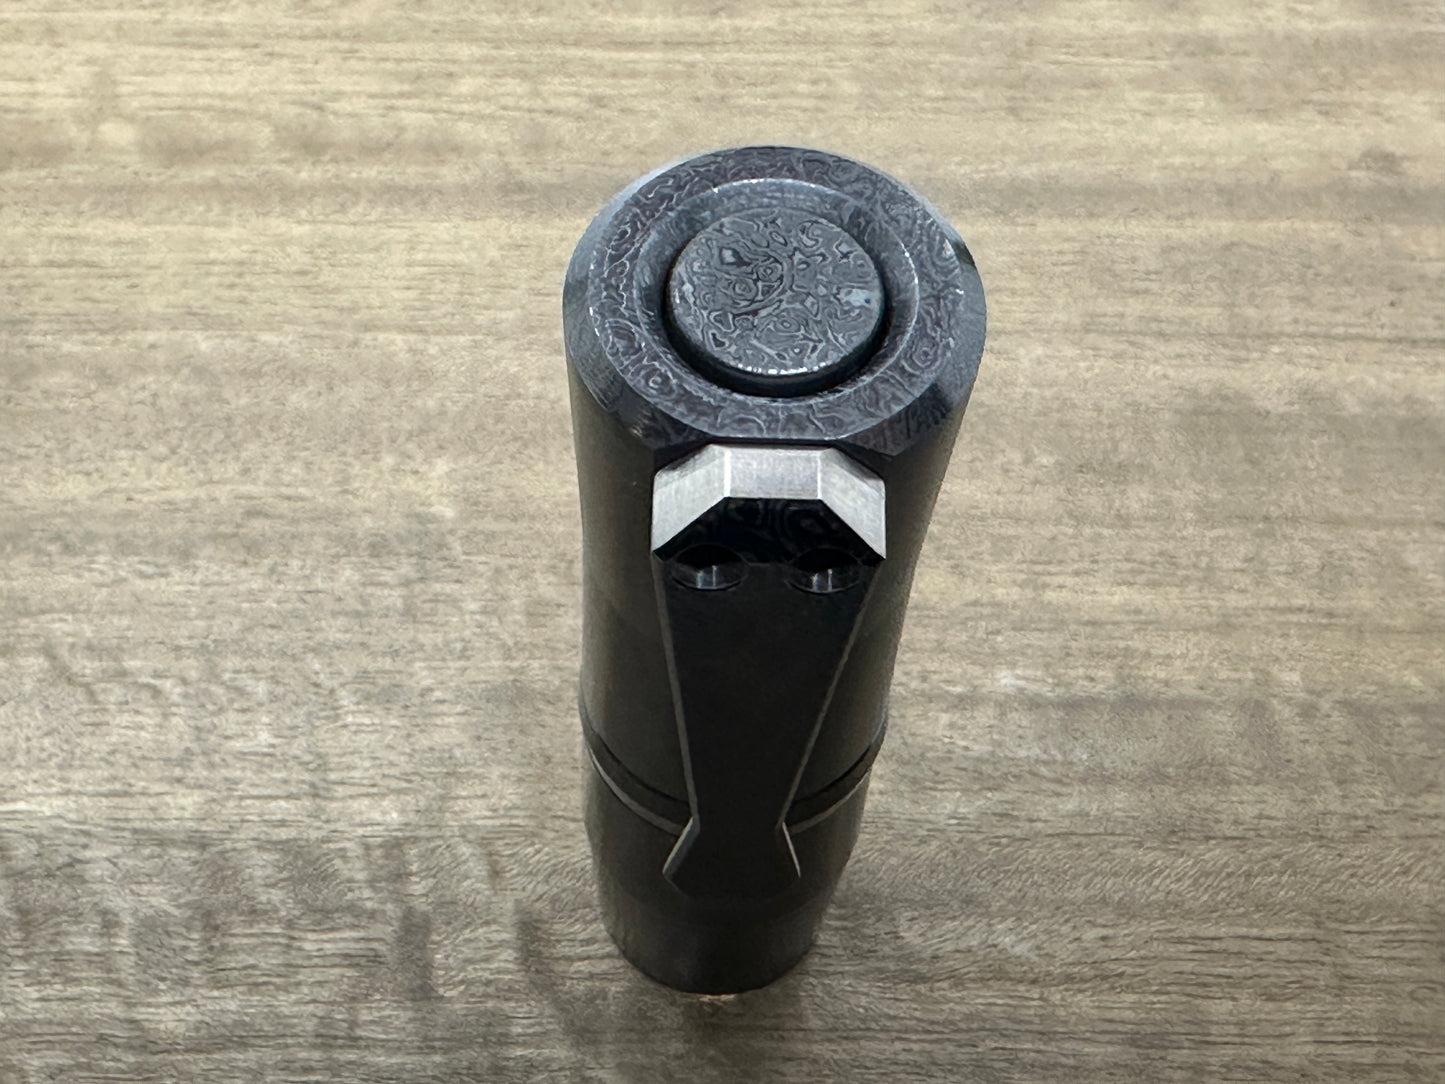
EDC FLASHLIGHT Black Zirconium Black Alien Titanium Clip
EDC FLASHLIGHT Black Zirconium Black Alien Titanium Clip
Couldn't load pickup availability
EDC FLASHLIGHT Black Zirconium Black Alien Titanium Clip
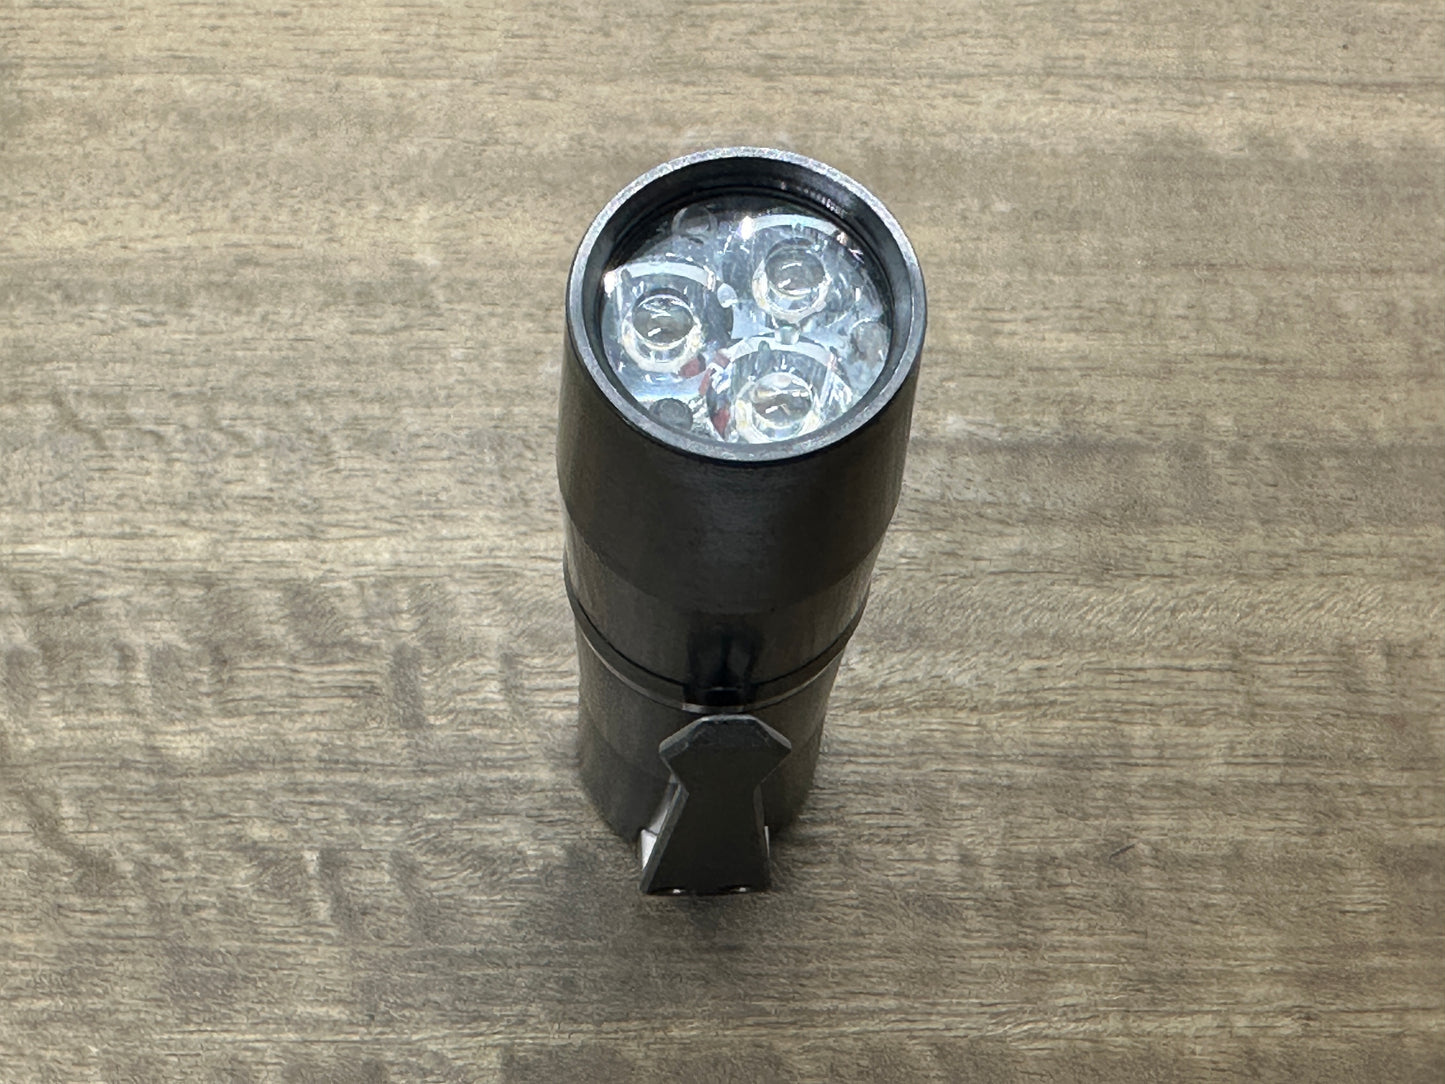
EDC Custom FLASHLIGHT SPECIFICATIONS: LED EMITTER: (3) Nichia NVSL219C D240 4000K 90+ CRI LEDs on 20mm 3XP MTN DTP Copper MCPCB. This is Nichia's newest emitter, which combines great color rendition with excellent output. DRIVER: 17mm DrJones H17Fx Driver w/ lucidrv2 - 7135 + FET Dr. Jones H17F (3V-4.35V Input Voltage, Triple-Channel Output). This super-advanced driver, designed by DrJones, is extremely advanced, with triple-channel output (2x7135 channels; 1xFET channel), seamless temperature sensor function and full user programmability. Mode Groups: the light off when it reaches the temperature you desire. Low modes (up to 13%) are driven by a single AMC7135 IC (380mA), which allows very low moonlight/firefly modes and makes those modes also quite efficient (the LED is more efficient at lower currents). Medium and high modes up to 3.0A are driven by additional 7*AMC7135. The direct drive FET allows for turbo modes of 5A and more - but that depends on the battery (use a high drain cell with low internal resistance) and on internal resistaces of the flashlight (contacts, wires, springs, switch, and the forward voltage of the LED). OPTIC: 10507 Carclo Lens - 3-UP Narrow Spot Optic BATTERY: 18350 1200MAH 10A HIGH DRAIN RECHARGEABLE BATTERY - included SWITCH: Complete Reverse Clicky Bypassed Switch with CNC machined precision metal knob as stated above. O-RING: standard silicone WINDOW: Watch Crystal Mineral Glass Crystal 22mm x 1mm MATERIALS: as stated above DIMENSIONS: 3.35in x 0.98in MADE IN USA WATERPROOF: yes DRIVER (More detailed info): 17mm Diameter 3V-4.35V Input Voltage Triple-Channel Output 2x 7135 Channels; Up to 3A Constant Current Regulation 1x FET/Direct Drive Channel; Non-regulated Output
FLASHLIGHT OPERATION: Fully press the button on the back to turn on the light and fully press again to turn it off. To change modes, first turn on the light by fully pressing the button, then tap (half press). Keep tapping the button that will cycle through the four modes of light strength: Moon, Low, Mid, High. This is a custom driver board (H17F) with an enhanced version of lucidrv with some additional features. It has a diameter of 17mm with components on both sides, and provides a current of 3.0A (8*AMC7125) plus a direct drive FET for turbo modes. Low modes (up to 13%) are driven by a single AMC7135 IC (380mA), which allows very low moonlight/firefly modes and makes those modes also quite efficient (the LED is more efficient at lower currents). Medium and high modes up to 3.0A are driven by additional 7*AMC7135. The direct drive FET allows for turbo modes of 5A and more - but that depends on the battery (use a high drain cell with low internal resistance) and on internal resistances of the flashlight (contacts, wires, springs, switch, and the forward voltage of the LED). Off-Time memory: The driver distinguishes between being off for a short tap (half-press) on the clicky to change to the next mode and being switched off for a longer time (~0.5s) so that memory kicks in (or no-memory if configured that way). Two mode groups: There are two easily switchable mode groups for different situations (e.g. one for indoors with moon and low modes, and one for outdoors with high/med). Each group is fully configurable with up to 7 modes and it's own memory type (see below). Programming: Each mode can be configured to a one of the 24 available (visually linear) levels of brightness. There are also some special functions which can be configured to any brightnes level, too: strobe, beacon or double-pulse blink. The number of modes (1-7) and the memory type can be configured for each group. Memory: No-memory, classic memory or short-cycle memory configurable for each mode group. Double-Tap mode: A quick double-tap leads to an additional (programmable) mode (e.g. high or strobe) for each group. It can also be activated fromm off by a tap immediately after clicking on (click-tap; for reverse clickies), or by a tap immediately before clicking the light on (tap-click; for forward clickies) Mode locking: Select any mode and use it for a second, then activate mode lock (see below). Then that mode is locked, it won't change to next mode any more (unless you unlock it again). Good for tactical or signaling purpose. Full thermal control: The driver monitors the temperature and reduces power to avoid overheating. The power is constantly adjusted to keep the set temperature constant (PID control): If the light gets hot, the power is reuced, but if for example a better airflow enhances cooling, the power increases again. The driver constantly adapts to the cooling conditions; the better the cooling is, the brighter it will be. The target temperature can be configured in steps of 5°C, and thermal control can also be deactivated. Note that the temperature is measured at the driver and will be somewhere between the LED's and the body's temperature. It will reach the set temperature and start regulating down the power before the body reaches it's equilibrium temperature, which will also be lower than the (driver's) set temperature. Note also that the absolute accuracy of the temperature sensor is about +- 5°C The set temperature may be exceeded for a short time after changing to a high power mode when the light is already near it's set temperature, since activating a high power mode is supposed to give high power at least for a short time. The driver will soon start regulating down to reach the set temperature again. Bump proof: If mounted on a bike, bumps may cause the battery to loose contact to the driver for a very short moment, which many drivers interpret as a button tap and change modes. This driver however ignores those bumps and keeps it's mode. Battery monitoring: Whenever the battery falls below 3V under load, brightness is reduced (about half). The reduced load usually brings up the voltage a bit. When it drops below 3V again, brightness is halved again - and so on, down to a very low level. It will not switch off and leave you in complete darkness though. Voltage indicator: The driver can show the battery status via some blinks; see below. Efficiency: The luminous efficacy of the all modes except the highest 6 brightness levels is increased by using a truly lower current (triple channel design with a low current and two high current channels). Lower levels: The triple channel design also allows for a higher dynamic range of brightness levels (12 bit), i.e. more lower levels. Turbo levels: The additional direct drive FET channel allows for quite high currents for the two turbo modes: full turbo and an intermediate half-turbo. Actual currents depend on the battery and the flashlight hardware. 16 kHz PWM frequency: Invisible and inaudible. PROGRAMMING (Configuration menu - programming mode) NOTE: I have already programmed it for you, this info is only if you want to change it, or reprogram your flashlight. Select a mode and use it for at least a second. That mode is then the selected mode for some of the actions below. Then enter programming mode by 8 rapid taps (half-presses; the light must be <0.2s on each time). You have to be quite fast, however it's no problem if you tap a few times more. Shortly after those rapid taps a blinking signal will be shown. This serves two purposes: It indicates that the light is now in its configuration menu (programming mode) and awaits further input, and it also serves as battery level indicator: The number of blinks indicates battery voltage, about one blink for every 0.12V above 3.0V without load (~10 is full (4.2V), ~4 is pretty empty). If you let them pass without tapping the button again, the config menu is exited without any change. If you want to change the configuration, you need to 'input' more taps while the blinking signal is active, the number of taps specifies the action. Note that the timing is more relaxed in the config menu; you have to be swift and uninterrupted, but by far not as rapid as the 8 taps above. However you must hit the exact number of taps. Some items in the programming menu have a submenu, indicated by a different blinking signal. You need to enter another sequence of taps then. Once you entered the config menu (by 8 rapid taps) and see it's signal, tap the button a number of times to do the following: 1 tap: Mode lock; lock the selected mode (see above). If locked, unlock. 2 taps: Switch between the two groups (also lifts a mode lock). 3 taps: Set brightness. The light will ramp the brightness up and down twice in 24 visually linear steps: From #2 (moonlight) to #22 (100%) the output doubles every 2 steps, #1 (firefly) is even lower, #23 if half-turbo and #24 is full tubo. Tap once when the desired brightness is reached to change the selected mode to this brightness. 4 taps: Enter the strobe/blink submenu, another sequence of 1-4 taps selects the special lighting function: o 1 tap: constant brightness (normal mode). o 2 taps: strobe (fast and disorienting). o 3 taps: beacon (a short blink every 4s). o 4 taps: double-pulse blink with oscillating brightness, i.e. does not blink on and off, but instead oscillates between high and low brightness (so the light is never off then). Not going off allows better estimation of your position/distance, while the blinking catches attention. This function is intended for cycling purposes (being seen). All those functions can be combined with any brightness, and changing the funcion will not change the brightness. 5 taps: Add/Delete submenu, another sequence of 1 or 2 taps chooses between add or delete a mode t/from the active mode group: o 1 tap: add a mode. The new mode is inserted at the position of the selected mode. Example: If you have 3 modes, L/M/H (with M selected), then add a mode, the result is L/M/M/H, i.e. the selected mode is doubled, and the first of them is selected. It can then be changed by entering the config menu again. o 2 taps: delete the current mode from the group. 6 taps: memory subenu, another sequence of 1-3 taps selects the memory type for the active group: o 1 tap: Set the memory type to no-memory. o 2 taps: Set the memory type to classic memory (cycle through all modes). o 3 taps: Set the memory type to short-cycle memory (after memory kicked in, skip to first mode; see below). 7 taps: Temperature submenu, another sequence of 1-12 taps selects the set temperature (default is 60°C): 1:off 2:40°C 3:45°C 4:50°C 5:55°C 6:60°C 7:65°C 8:70°C 9:75°C 10:80°C 11:85°C 12:90°C 10 taps: Reset all configuration options to their factory defaults. 12 taps: Toggle prog-lock, disables programming the light. Mode lock and switching between mode groups (1 or 2 taps in the config menu) will still work, also 12 taps again to unlock, but all other config options won't.
Black ZIRCONIUM: Pure Zirconium (Zr Atomic number 40) is a lustrous, grey-white, very strong, lightweight and hypoallergenic metal that closely resembles hafnium and, to a lesser extent, titanium. Zirconium is extremely resistant to heat and corrosion and it is lighter than steel. Through my own heating process, I create a unique appearance, that's called "Black Zirconium" or "Oil Slick". Through this high heat, a layer of extremely hard black oxide grows on the metal. This thin black layer is much harder than pure Zirconium, which does not rub off over time. Therefore, it is more durable than black-coated items, such as black tungsten and titanium. This "black" or "Oil Slick" color is permanent, it does not fade, tarnish, or change color. SUPERCONDUCTOR: A superconductor (Niobium Ti tiny rods in Copper) is a very rare, hard to get and expensive metal that can conduct electricity or transport electrons from one atom to another with no resistance. Superconductors are used to make extremely powerful electromagnets to accelerate charged particles very fast (to near the speed of light). This is a special metal, a great collector’s item.
INSTALL: You can also request the scales to be installed on Factory Knife as a custom order. Just send me a message.
PRECISION: Each MetonBoss item is precision CNC machined from a solid billet in my Anaheim manufacturing facility in California, USA.
EVERY DAY CARRY - LIFETIME WARRANTY
DISASSEMBLY of any knife is not covered under the original manufacturer's Warranty.
We appreciate your support and love for MetonBoss EDC products, including Knife Scales and Hardware, Lanyard beads, Prybars, Flashlights, Pill boxes, Haptic Coins and Fidgets, Worry Coins and Spinning Tops!
Materials
Materials
THE FOLLOWING is a LIST of some of the most popular MATERIALS I machine:
TITANIUM (Ti) is a very durable metal because it is corrosion-resistant: sea water, aqua regia, and chlorine. It is 40% lighter than steel but as strong as high-strength steel. Titanium finds applications in things like aerospace and surgical applications. Titanium is a chemical element with the symbol Ti and atomic number 22. It is a lustrous transition metal with a silver color.
Black ZIRCONIUM: Pure Zirconium (Zr Atomic number 40) is a lustrous, grey-white, very strong, lightweight and hypoallergenic metal that closely resembles hafnium and, to a lesser extent, titanium. Zirconium is extremely resistant to heat and corrosion and it is lighter than steel.
Through my own heating process, I create a unique appearance, that's called "Black Zirconium" or "Oil Slick". Through this high heat, a layer of extremely hard black oxide grows on the metal. This thin black layer is much harder than pure Zirconium, which does not rub off over time. Therefore, it is more durable than black-coated items, such as black tungsten and titanium. This "black" or "Oil Slick" color is permanent, it does not fade, tarnish, or change color.
ZIRCUTI (ZrTi): I use a 5-Alloy ZircuTi (also known as ZrTi or Black Timascus), machined from a solid forged billet: zirconium, 6AL-4V titanium and CP2 titanium layers. What sets it apart from other layered titanium is that zirconium turns black or dark grey when heat is applied; therefore you get beautiful blues, purples, with slivers of black.
MOKUTI (Titanium Damascus, also known as Timascus): Mokuti Damascus is made of layers of 3 or 4 different titanium alloys. These are stacked and forged (in ways that are unique to each rod) into a single solid round rod. I machine this rod to produce a visually dynamic, layered material. The technique is similar to the Mokume-gane style of metalworking from Japan.
SC = SUPERCONDUCTOR: A superconductor (Niobium Ti tiny rods in Copper) is a very rare, hard to get and expensive metal that can conduct electricity or transport electrons from one atom to another with no resistance. Superconductors are used to make extremely powerful electromagnets to accelerate charged particles very fast (to near the speed of light). This is a special metal, a great collector’s item.
METEOR-Ti is a special forged Titanium and only made by two makers in the world. It is a very durable metal because it is corrosion-resistant: sea water, aqua regia, and chlorine. It is 40% lighter than steel but as strong as high-strength steel. Titanium finds applications in things like aerospace and surgical applications. Titanium is a chemical element with the symbol Ti and atomic number 22. It is a lustrous transition metal with a silver color.
COPPER: This pure Copper will develop patina over time. Enjoy the time passing :) Copper is a chemical element with the symbol Cu (atomic number 29). It is a soft. It is an essential nutrient in our daily diet. And, its antimicrobial property is becoming increasingly important to the prevention of infection.
BRASS is an alloy metal that is made of copper and zinc. Due to brass's unique properties, it is one of the most widely used alloys.
AEROSPACE GRADE ALUMINUM: It provides a high strength. It is highly corrosion resistant making it an ideal addition for numerous applications not only in aerospace, but EDC items, such as Knife Scales.
GREEK ASCOLOY: It is a chromium-nickel-tungsten martensitic alloy. It is used for jet engine parts due to its strength and corrosion resistance.
MOKUME-GANE: It is a Japanese metalworking procedure which produces a mixed-metal laminate with distinctive layered patterns "wood grain metal" and it takes on the appearance of natural wood grain. Mokume-gane fuses several layers of differently colored metals together to form a sandwich of alloys called a "billet."
Shipping & Returns
Shipping & Returns
SHIPPING: see more info at https://metonboss.com/pages/shipping
RETURNS / EXCHANGES: see more at https://metonboss.com/pages/exchanges-returns
(copy and paste URL into a new Window)
Care Instructions
Care Instructions
It is recommended to clean it with a standard Window Cleaner such as Windex and a soft Fiber Cloth.
-
PROCESSING TIME:
Our turn around time is about 3-6 business days, unless installation or customization is requested that may take a few days longer. (A very few may take longer as I am a CNC machine shop and my products are not off the shelf mass produced items. Even though most of them are in stock, some are only in machined form, so they still need to be finished to your order specifics - such as color treatment, patterns, etc. - as there are thousands of variations you can select in my shop. If you need any item urgently, please ask me before ordering to be sure.) Thank you, Sean.
-
SPECIAL:
With every $250 purchase or more, you get a Titanium, Zirconium, Greek Ascoloy or Copper surprise gift (up to $80 retail value) (Note: the $250 is for the net amount, not including tax and shipping. One free gift per address.
The following items do NOT QUALIFY: Discounted items, including 2 for 1 offers, Combined items that are already discounted - such as Scales + Clip and items on sale or if paid with a discount coupon. Also do NOT qualify for the free item: any orders with knife installation and custom orders not listed in my store.